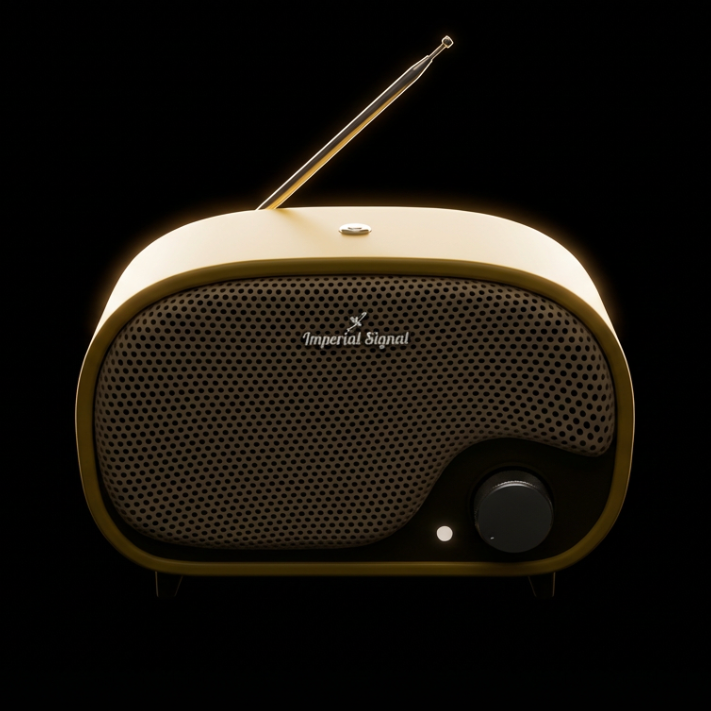
Vintage
AM Radio
A 3D printed, offline radio that brings back the charm of vintage AM broadcasts.
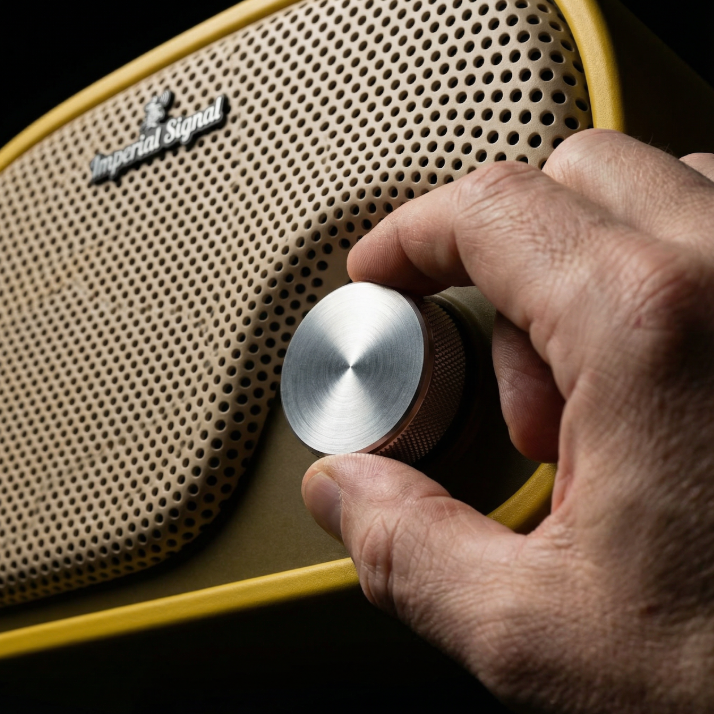
Simple & Tactile
Physical knob and buttons provide satisfying, direct control without complexity
Completely Offline
No internet, no apps, no updates. Just pure, uninterrupted audio playback
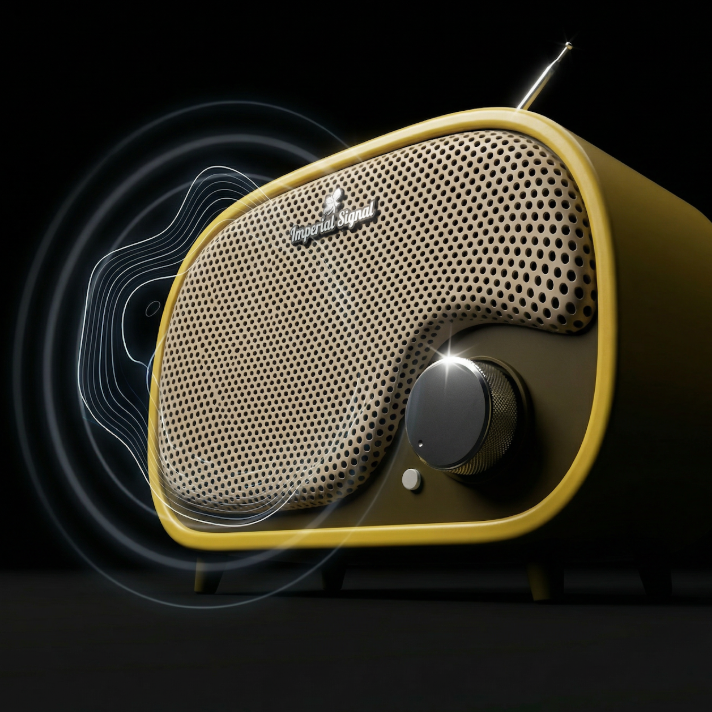
AM Radio Sound
Mono audio with warm, slightly distorted characteristics that define the AM radio
YouTube Videos
Introduction
This short video walks through my thinking behind why I made it, how the radio works, including powering it on, adjusting the volume, and using the button to move through tracks and albums. It also covers what to expect when the radio starts up, how the sound behaves, and how to add or change music using the SD card. If you just want to use the radio and enjoy it, this is the best place to start.
Watch VideoNew Developments
This video is about what happens after you share a project and let other people shape it. I walk through how the vintage radio evolved through community feedback, why the original design mattered so much to me, and what this project has become. If you care about thoughtful design, real-world use, and building things that actually matter, this is worth watching.
Watch Video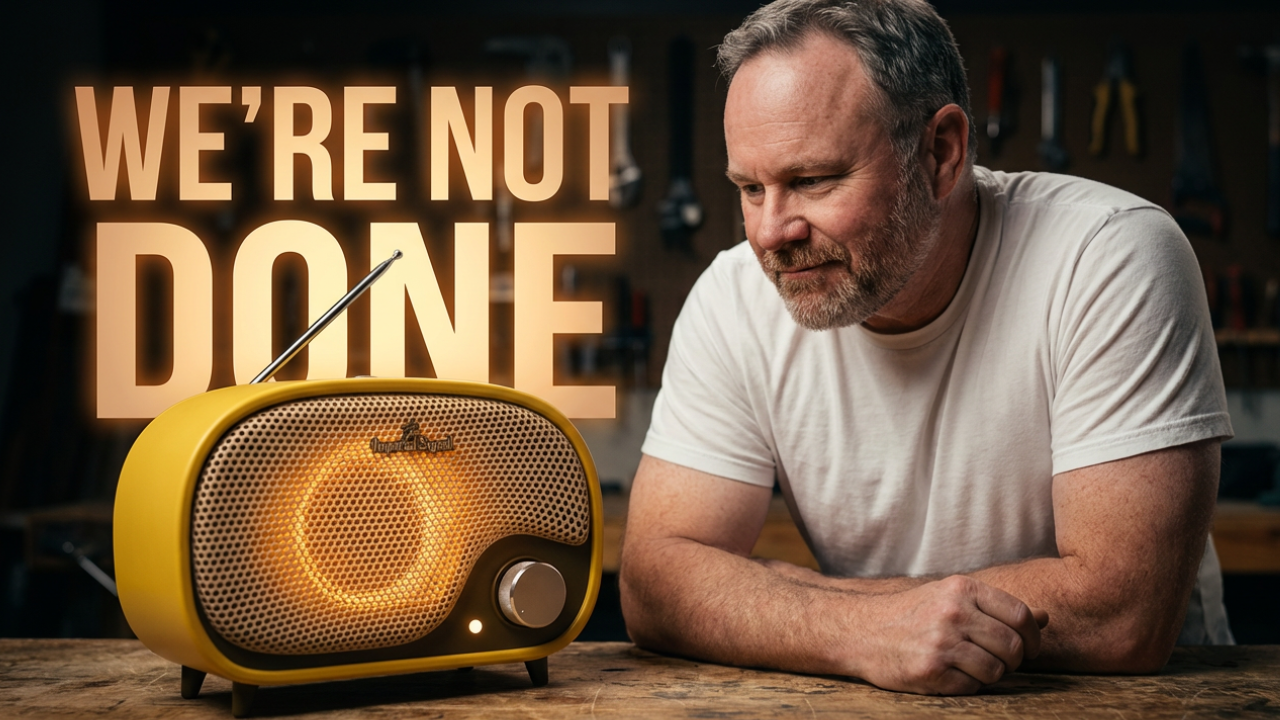
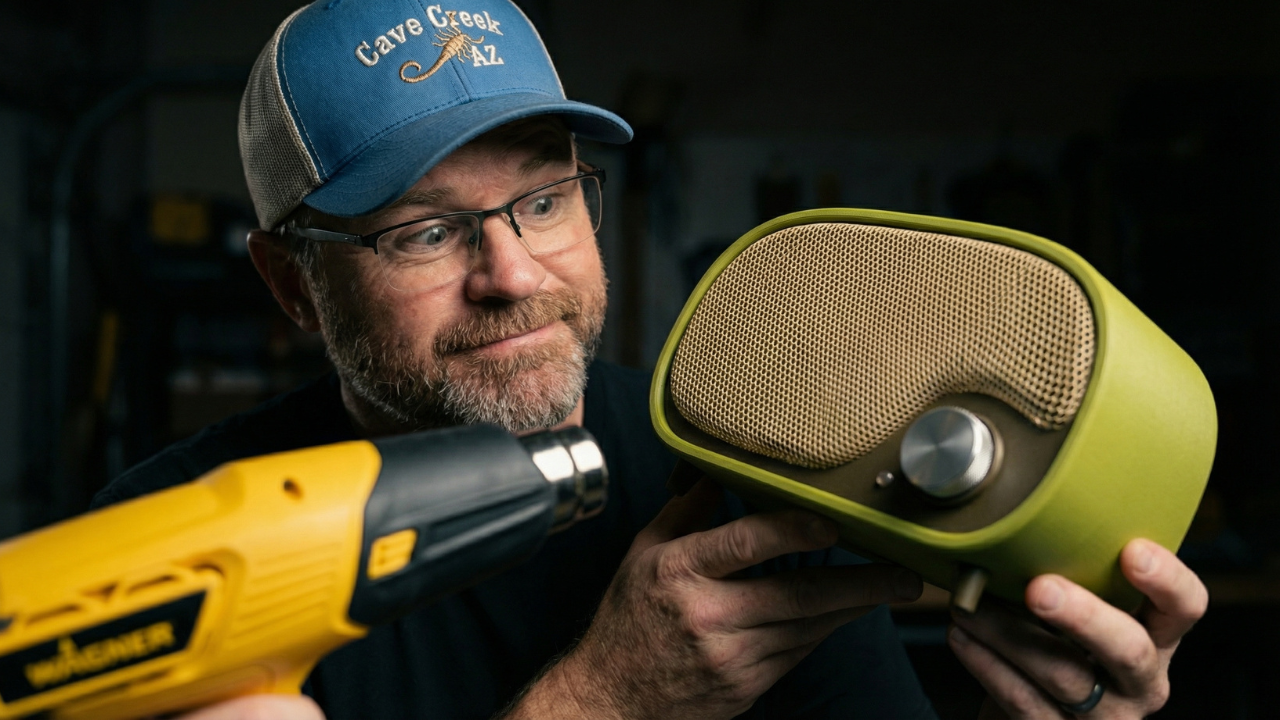
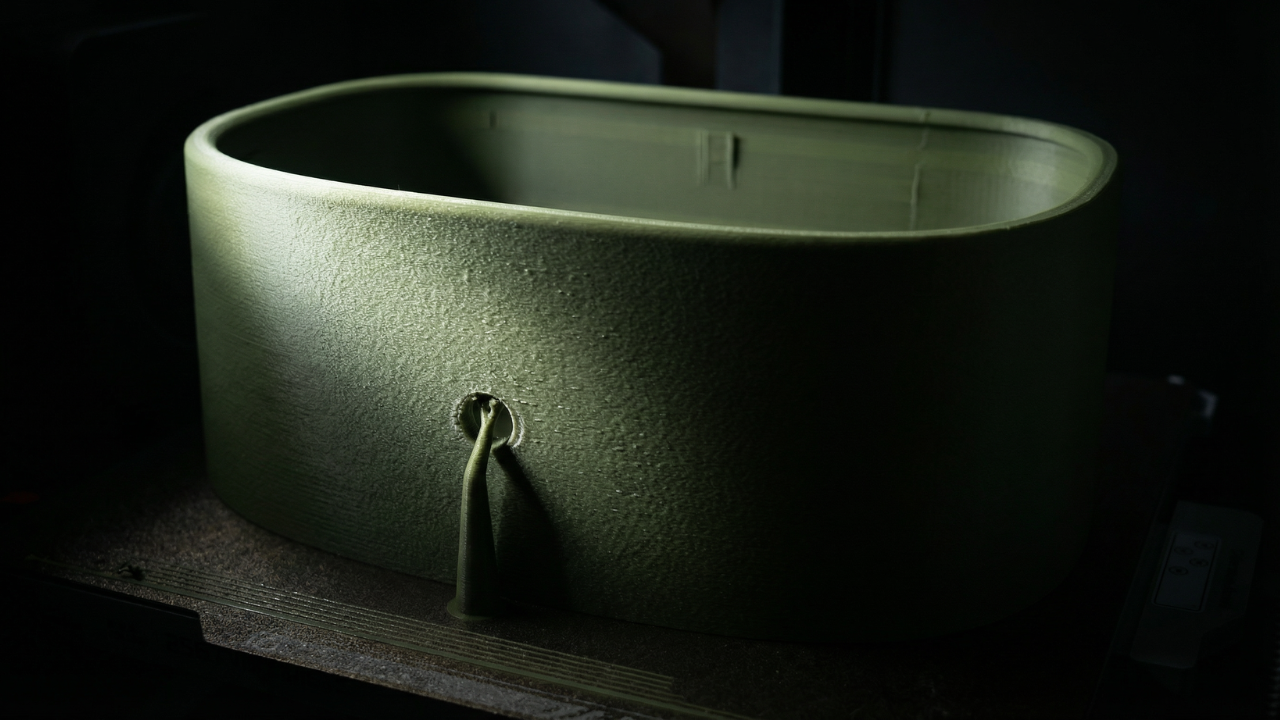
Thermoforming the Grill
In this video, I experiment with thermoforming a 3D-printed grill for my vintage radio design, and it completely changed how I think about manufacturing parts like this. What started as a way to avoid long print times and wasted supports turned into a surprisingly effective alternative that looks great and scales better for real-world use.
Watch VideoHydro-Thermoforming
I tried thermoforming my radio grill without a heat gun. Instead, I submerged it in hot water at around 70°C and attempted what I’m calling Hydrothermoforming — bending PLA over a mold using heat from water instead of direct air. The goal was simple: Take a flat PLA grill (reduced density, trihexagonal pattern) and form it cleanly into its final curved shape using hot water alone.
Watch Video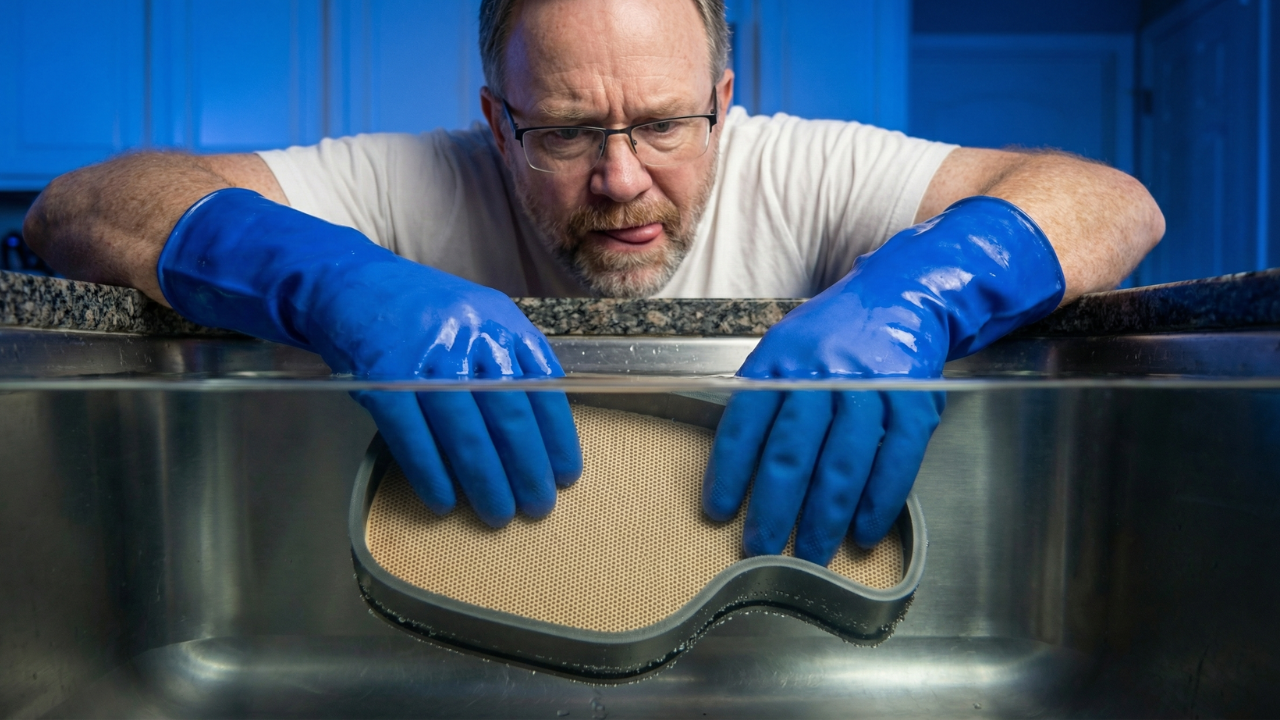
Hardware and Purchase Links
Here is a list of the hardware you'll need for my design. Some of this you might already have, some of it you might not. I'm giving you links to the items I purchased in "bulk". If you're just making one, you might want to take note of what I used, and find a better small quantity to purchase. I'll be honest, everything I used came from Amazon, except for the DFPlayer. You'll need to buy the real one (not on Amazon) if you're going to build yours just like mine, because the knockoff ones that have on Amazon have different firmware and will not work with my design.

Smart Device Hardware
- M3x5 screws (2 for mount): https://a.co/d/gPeRq7L
- M3x6 screw (1 for antenna): https://a.co/d/gPeRq7L
- M3x5 flat head screws (2 for back brace): https://us.store.bambulab.com/products/m3-flat-head-cap-machine-screws-fhcs?id=42376310030472
- Threaded M3 inserts (3): https://a.co/d/cLopwY2
Circuit Board Device Hardware
- M3x5 screws (2 for mount): https://a.co/d/gPeRq7L
- M3x6 screw (1 for antenna): https://a.co/d/gPeRq7L
- M3x5 flat head screws (2 for back brace): https://us.store.bambulab.com/products/m3-flat-head-cap-machine-screws-fhcs?id=42376310030472
- Threaded M3 inserts (3): https://a.co/d/cLopwY2
- M2x8 screws (2 for circuit board): https://a.co/d/i2OV7em
- M2x6 screws (4 for speakers): https://a.co/d/i2OV7em
- Potentiometer knob: https://a.co/d/9H0jOAl
- Breadboard: https://a.co/d/hbrNE2P
- Yellow LED (3mm or 5mm): https://a.co/d/78NlMX7
- Pushbutton: https://a.co/d/6tLA6vy
- Speakers: https://a.co/d/fqL6otF
- Amplifier circuit component: https://a.co/d/0kjDqYt
- Micro SD memory card: https://a.co/d/4lX2yHB
- 1k resistors: https://a.co/d/dhlW9rH
- 2k resistors: https://a.co/d/4yvbl9z
- 10k resistors: https://a.co/d/j2P6ezR
- Microcontrollers: https://a.co/d/7R3LNvv
- Wire (solid core): https://a.co/d/cbny6hS
- DFPlayer component: https://www.digikey.com/en/products/detail/dfrobot/dfr0299/6588463
Important: Do not buy DFPlayer knockoffs from Amazon. There is a major firmware difference and knockoffs will not work.
- Charger block: https://a.co/d/gedDIFV
- USB-C charger cables: https://a.co/d/8Z3ab9h
- Proto-board: https://a.co/d/843GS9Y
- WH138 Rotary Potentiometer with Switch: https://a.co/d/ijyrtT0
- Telescopic antenna: https://a.co/d/08lqSU2s
Tutorials

Adding Music
If you just want to add or remove music, and need some help, this is the place to start. I also illustrate how to format the micro SD card and the folder and song naming requirements so the radio knows exactly what to play. File structure matters here, but once it’s set up, updating or swapping music is simple.
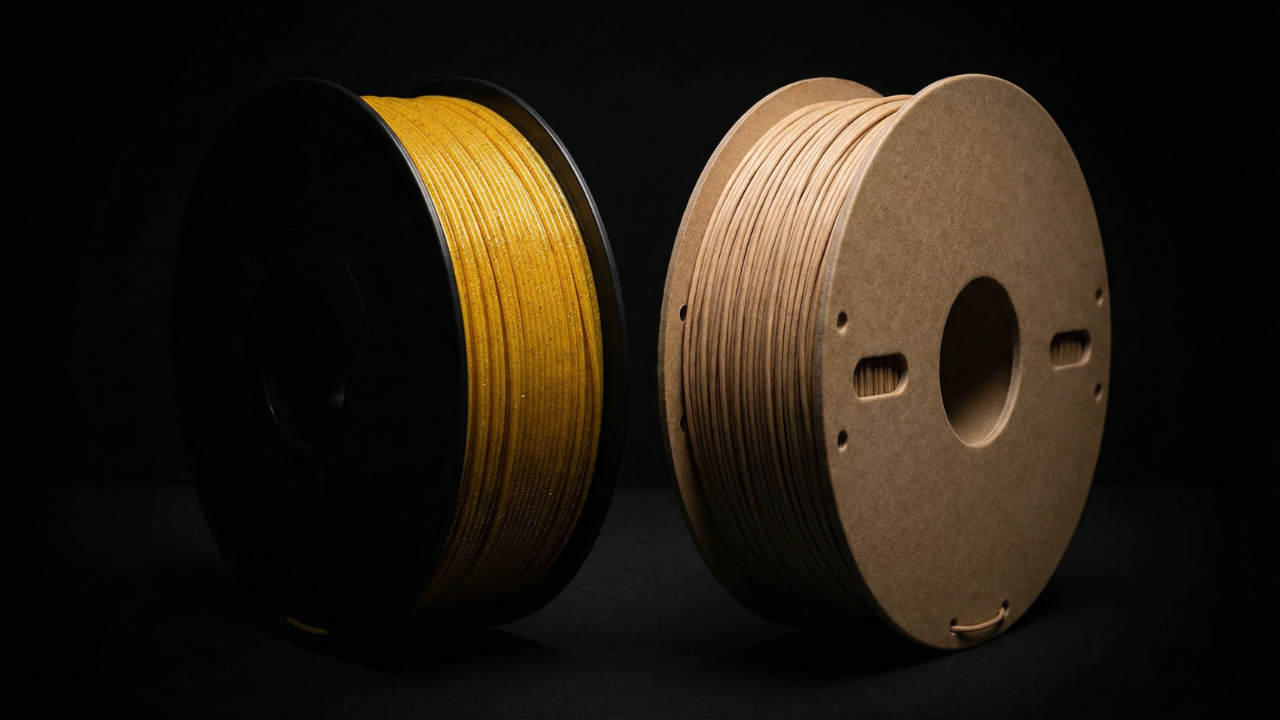
Filament Suggestions
These are the filaments I recommend for printing the radio, based on finish, durability, and how forgiving they are during assembly. The goal is a clean surface, predictable tolerances, and parts that feel intentional once everything comes together.
Print Settings
This section covers the slicer settings used to print each part successfully. You’ll see recommended layer heights, wall counts, infill choices, and where supports are intentionally used. The focus is on getting clean surfaces, reliable tolerances, and parts that assemble without fighting you.
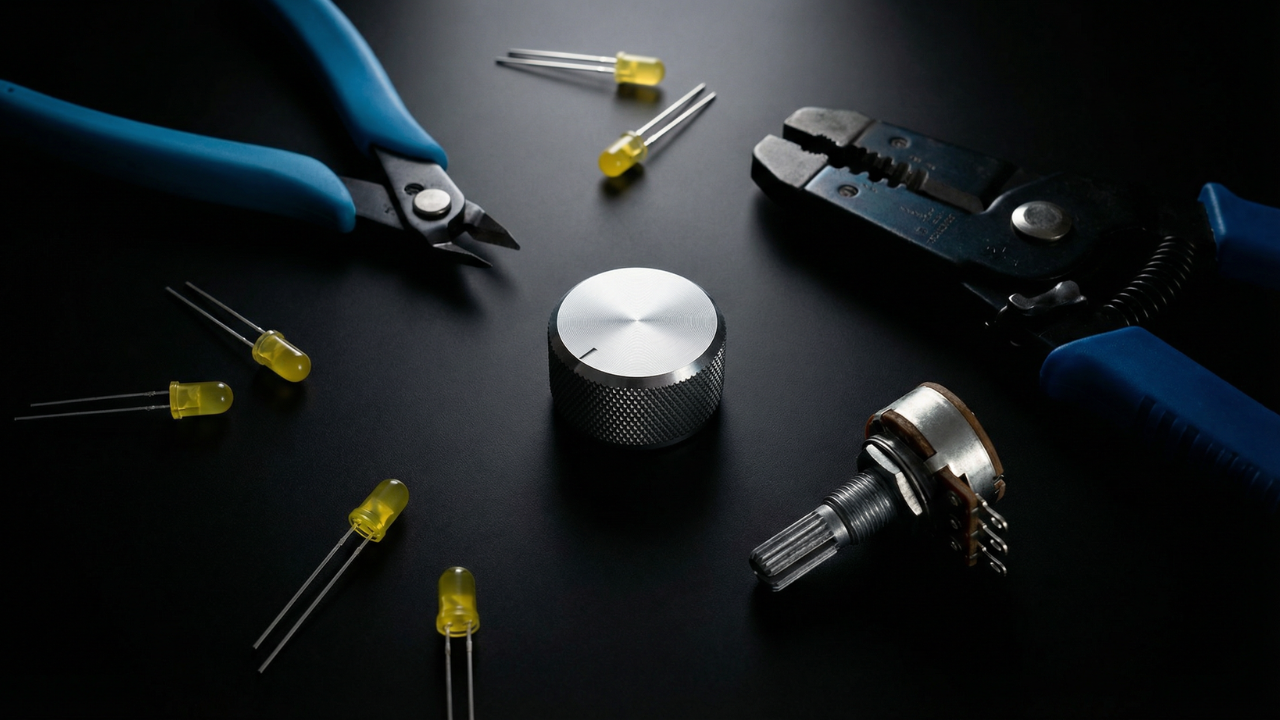
Tools Needed
You don’t need a full workshop to build this. These are the few tools that make the process smooth, precise, and frustration-free, from cutting and stripping wires to tightening the final hardware.
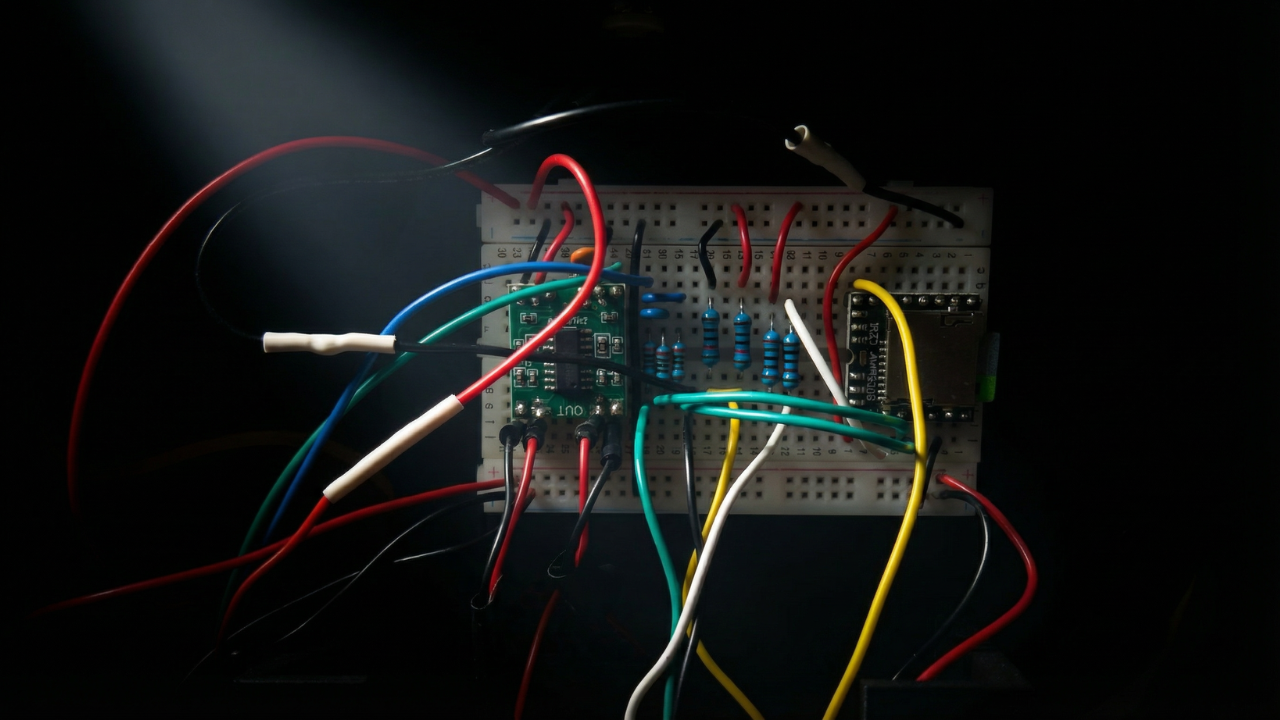
Wiring the Circuit
This section covers how everything connects electrically. You’ll wire the components step by step, verify signal paths, and make sure power and audio are flowing exactly where they should.

Assembling the Radio
Once everything is tested, it’s time to bring it all together. This final step shows how the parts stack, align, and fasten into the finished radio, turning a collection of components into a working object.

Program the Microprocessor
This step walks through loading the firmware that brings the radio to life. You’ll upload the code, confirm everything is running as expected, and make sure the microprocessor is ready before it ever goes inside the enclosure.
